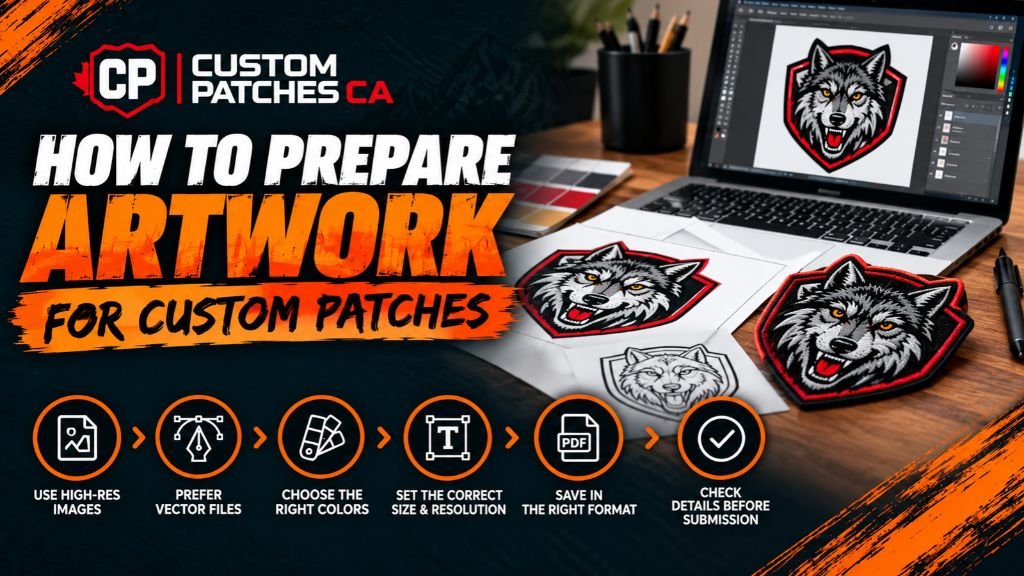
Picture this. You send your logo to a patch maker, feeling pretty good about it, and two days later an email shows up. The lines are too thin. The image looks blurry. Can you resend it? It’s a common story, and most of it can be avoided. Once you know how to prepare patch artwork before you submit it, everything moves faster, and the finished patch looks a lot closer to what you had in mind. We’ll go through file types, image quality, text, sizing, placement, and a last check before you send.
Understand What Makes Artwork Suitable for Custom Patches
A patch is stitched from thread. Ink doesn’t come into it, and that changes what a good design looks like. Thread can’t fade from light to dark, so gradients and soft shadows turn muddy. Photos don’t work either. Bold shapes do. So do clear outlines and flat areas of color.
Good custom patch artwork can be read from across a room. Keep the number of colors small. If your brand has a specific shade, look up its Pantone number and send it along, since that helps the maker match the thread. Here’s a simple test. Show the design to a friend for two seconds. If they can tell what it is, you’re in good shape.
How to Prepare Patch Artwork by Choosing the Right File Format
The list of patch artwork file formats looks long, but only a few really matter. AI, EPS, SVG, and PDF are the ones patch makers like best, because they’re vector files.
Vector artwork for patches can be shrunk or stretched without losing sharpness. Edges stay crisp, and colors are simple to swap. If all you have is a PNG or JPG, that can still work when the image is large and clear.
A few small things help before you save the file.
- Convert your text to outlines so your font doesn’t get swapped for something else.
- Don’t send screenshots or pictures saved from social media.
- Skip files that have been squashed down and re-saved many times.
Check Image Resolution and Artwork Quality
Stuck with a regular image file? Then quality counts even more. Aim for 300 DPI at the size the patch will be, or use the biggest, cleanest version you can find. Blowing up a small logo doesn’t help. You just get a bigger blur.
Zoom in to around 200 percent and look around. Jagged edges, random specks, and leftover background are easy to spot at that size. If your designer has the original file, ask for it instead of using a copy somebody saved three times. That one habit is a big part of how to prepare patch artwork without going through round after round of fixes.
Adjust Text, Lines, and Small Details
Text is where most problems start. Letters should be at least 0.15 inches (roughly 4 mm) tall, though your patch maker can tell you the exact limit for each style. Sticking to basic custom patch design requirements for lettering and line thickness keeps small words from clogging up into blobs.
A few habits make a big difference.
- Choose bold, plain fonts. Thin script and tiny serif letters often vanish.
- Leave small gaps between shapes so colors don’t bleed together.
- Thicken any hairline strokes.
- Drop fussy details, like fine textures, that nobody will see anyway.
Match Your Artwork to the Patch Type
Each patch style treats detail differently. Embroidered patches like bold designs with big color areas. Woven patches use thinner thread, so they handle smaller text and tighter detail. PVC, printed, and chenille patches all come with their own limits on colors and detail.
Pick your style early. A design that looks great woven may need trimming before it works in embroidery, since different styles call for different artwork for custom patches. Still deciding? Our guide on Custom Patch Types walks through each option.
Check How Your Design Will Look at Actual Patch Size
Your logo looks great on a big monitor. The patch itself will probably be somewhere around 2 to 4 inches wide. So shrink the design to that size and take a look. Printing it on plain paper is even better.
Can you still read the words? Do the little shapes stay separate from each other? If something disappears, you can simplify that part or go with a larger patch. Hold the paper copy up against a cap or a jacket and you’ll know right away if it works.
Prepare Artwork for Different Placement and Backing Options
Where the patch ends up matters. A cap front is small and curved. A jacket back has loads of room. Bags and uniforms sit somewhere in the middle. Fabric plays a part too, since thick or stretchy material changes how a patch sits.
Then there’s backing. Iron-on, sew-on, hook and loop, and adhesive are the usual picks, and some add a little thickness that could affect small designs. The border changes the look as well. A merrowed border wraps thread around the edge for a rounded finish, while a hot-cut edge is flat and follows the shape of your design. Leave space in your artwork for the one you choose.
Review Your Artwork Before Submitting It
Before you hit send, go through this quick list.
- File is a vector or a large, clear image
- Edges look clean
- Text reads well at the real size
- Colors are limited, and Pantone numbers are written down
- Size, quantity, patch type, and backing are listed
Add those details to your message. It saves a lot of back and forth.
Once everything looks right, you can contact CustomPatchesca to talk through your artwork, request a custom patch quote, and go over a digital proof before you approve the final design.
If you’d like the whole process laid out, read How to Order Custom Patches: A Step-by-Step Guide.
Conclusion
Clean files, sharp images, simple details, the right patch style, and a real size check all add up. A little prep up front means fewer revisions and less waiting around. Once you know how to prepare patch artwork, the rest of the process feels a lot easier. Pull up your design, work through the steps, and get your project going.
FAQs
1. What file format is best for custom patch artwork?
Vector files such as AI, EPS, SVG, or PDF. Edges stay sharp at any size. Turn text into outlines before sending.
2. What is the minimum text size for embroidered patches?
About 0.15 inch (4 mm) tall. Smaller letters tend to fill in with thread and become hard to read.
3. Can I use a JPG or PNG for my custom patch design?
Yes, if it’s large and clear. Aim for 300 DPI at the patch size. Blurry files may need redrawing.
4. What is the minimum order quantity for custom patches?
It depends on the patch type. Share your quantity when you request a quote, and you’ll get the exact minimum.
5. How much do custom patches cost, and what affects the price?
Size, quantity, patch type, colors, and backing all play a part. Bigger patches cost more, and larger orders lower the price per piece.
